This blog documents my studio build started back in 2009. I'm keeping this live for reference as it may help others who are thinking of taking on such a project.
- Details
I took delivery of 3 sheets of MDF and a couple of sheets of plasterboard on Tuesday to make a start on the second door (outer). I had a lot of work to do around the garden this weekend so I set myself a meagre studio build target of getting the main 3 layers of the door cut to size ready for laminating. As before, I used 2 complete sheets for the outer surfaces and the off-cuts for the inner layer which makes maximum use of material and leaves me with another complete sheet for the sealing panel (see inner door.)
In fact, before making a start on the MDF panels for the second door I cut the plasterboard insert (final layer) for the inner door. This was pretty straight forward though I had to be extremely careful as the plasterboard is quite easily damaged especially at the edges. I wanted make a clean job of it because I don't intend to fill or paint it. It was basically a rectangle with a small cut-out around the latch.
OK, another job done and I might even try and get the panels sanded and prepared ready for laminating them at the weekend.
Photos:
Plasterboard insert (inner door)
- Details
Just a brief entry today. I was hoping to get the MDF for the outer door delivered for this weekend (long bank holiday) but unfortunately I left it too late when calling Travis Perkins as all of their delivery slots were taken up before the weekend and the earliest would be on Tuesday :-( Probably not a bad thing as there are plenty of other jobs to do as well as planning the door construction.
So the job for today: cover the ceiling cloud with the garden fabric. Wasn't sure how easy this would be but it actually worked out quite well. I needed a piece 275 x 200 cm to cover the entire area so I cut the 275cm length from the 200cm wide roll. I attached one side roughly in position using duct tape and then started stapling the other side using the staple gun. Once I had a few staples in place I removed the tape from the other side and replaced with staples. It was then just a matter of tensioning the fabric and stapling into the cloud framework.
All-in-all a pretty successful job and nice to actually cover the mineral wool to stop any fibres from falling. All that's needed for the room treatments now is to attach some strips to the framework to conceal the staples. For a later date.
Photo:
- Details
Another lull in proceedings in the last couple of weeks but I'm still here.
Before getting the outer door under way I have just to finish securing the frame and filling the surrounding gaps. I already had quite a few framing screws in place but I wanted to be sure that the frame was suitably strong to deal with the heavy door. I had already ordered another 10 of the 150 mm long fixings - good old ebay!
First job though was to fill the remaining gaps around the frame between the brickwork. I was considering using some sort of flexible filler but in the end decided on using mortar to create a rigid join between the frame and the wall. Also, the gap varies between 5 - 12 mm so would require a lot of material and I have plenty of sand and cement.
It was a fairly fiddly task as I was filling from the inside a gap that is recessed into the frame by about 35 mm and only just the width of my larger spreading tool. However, after a bit of experimenting I developed a pretty good technique using the large tool to offer the mortar up to the gap and smaller tool above to push the mortar into the gap on both sides of the frame. The large tool also caught any mortar that fell down. It's one of those jobs not to rush, otherwise you end up with more mortar on your feet than where it's supposed to be. Another good job done though I do have some small gaps to fill at the top and re-mortar below the lintel on one side - for another day.
I left this for a couple of hours before pre-drilling and securing the remaining frame screws into place. In fact I used 19 of the 20 screws I had so I don't think the frame will move any time soon!
Photo:
- Details
I had to pop into Digital Village, Cambridge first thing on Saturday as my Behringer ECM8000 mic had arrived into stock. I also made the most of the trip to have a listen to the Adam A7Xs monitors which I have been eyeing for a while. It was nice to get a chance to hear them first hand (or ear), even though they are generally very highly regarded. It was also good to compare with the KRKs that I have also been thinking about. Overall they sounded great and the separation was superb.
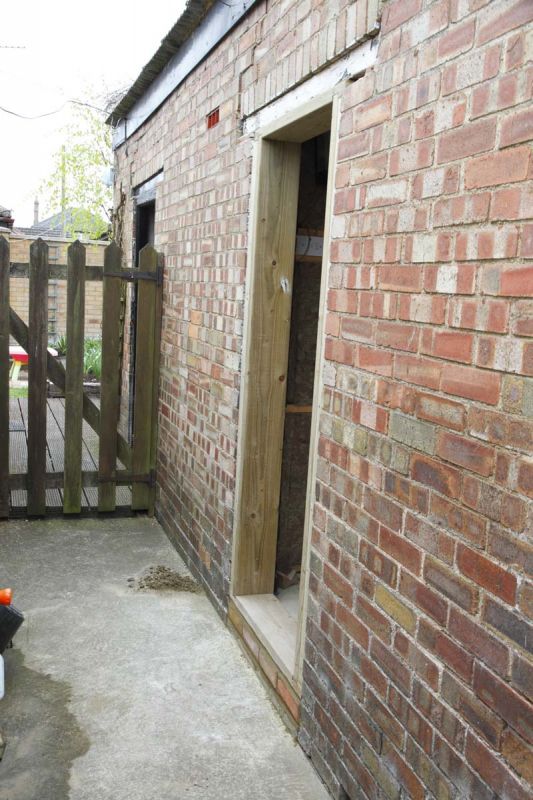
Next stop - timber yard to get some treated timber for the outer door frame. I found a couple of lengths the right thickness to fill the void either side of the frame up to the brickwork. These were then cut to match the uneven brick opening on the outside. These were then simply screwed into place.
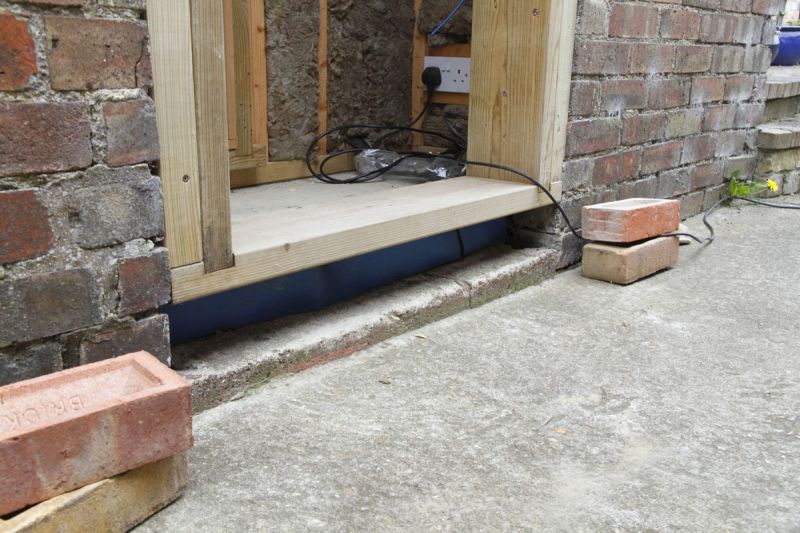
On Sunday I tackled the gap below the door frame. I had 3 bricks but I needed 4 to fill the void. Luckily I chatted to my neighbour and he had a few for a job and could spare me one :-) Before that, as I was in bricklaying mode, I have a small plinth for the gate front of the house that got knocked down a while back. I still had the original bricks for this so they simply need cleaning up and re-laying. All good and finally placed the cement cap to finish off.
The door frame gap was a little more difficult and I really ought to have done this prior to fitting the door frame :-( anyhow with a bit effort a was able to get the 4 bricks set in place and the result is quite acceptable.
Photos:


- Details
I couldn't put it off any longer... The garage was getting in a total mess and was in serious need of a tidy. Frustrating but I've always felt better after getting things in order and it allows you to think about the coming jobs. A couple of hours spent tidying still left me some time to start preparing the outer door frame.
Although before the clear up I did have to pop to the builders merchants to pick up a couple of bags of builders sand. I have to brick up the gap underneath the outer door frame so need the sand to mix some mortar.
Although I had secured the door frame reasonably well to the brickwork it still needed some further frame screws attached. I've used pretty much the same screws as uPVC window/door fitters use. They are designed to drive directly into brick/masonry and effectively cut their own thread into a 6mm diameter pilot hole. I may well have mentioned them way back when I first attached the outer door frame - they are 150mm long and I bought some suitably long masonry drills as I simply drill through with the frame in situ. I may need some more but I used the last four I had for the time being securing near the upper and lower hinge positions.
I also removed an old timber from the original wooden lintel and cleaned away the dust and loose mortar from around the opening.
That's about it I'l next need make some timber packing around the door frame to fill the gaps on the outer edge and then I'll be ready to make and fit the outer door.