Another reasonably productive weekend consisting mostly of adding room treatments..
Despite the fact that the ceiling height has reduced greatly from the original roof height including 300mm of mineral wool above the inner room, I had decided to add another 100mm to the majority of the ceiling area inside. I was always going to add some sort of ceiling cloud to the room and it seemed to make sense to make it one big cloud as I have plenty of mineral wool left.
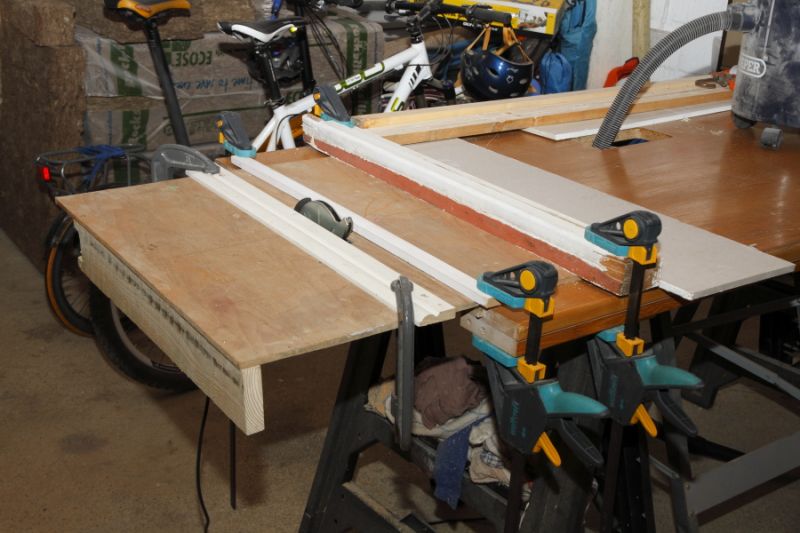
I had some lengths of 50mm square timber but this was going to be a little bit too chunky for the framing required so I rigged up my circular saw bench and set some guides to split these lengths in half. It's a bit of a Heath Robinson setup (see photo) but it's actually extremely safe and works a dream. So I started with 6 lengths of 50x50mm and end up with 12 lengths of 50x22mm - plenty enough for my needs.
Photo:
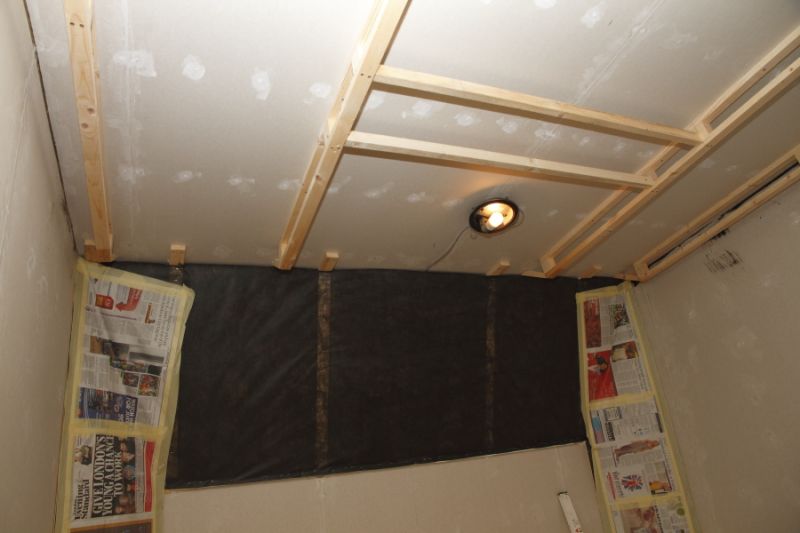
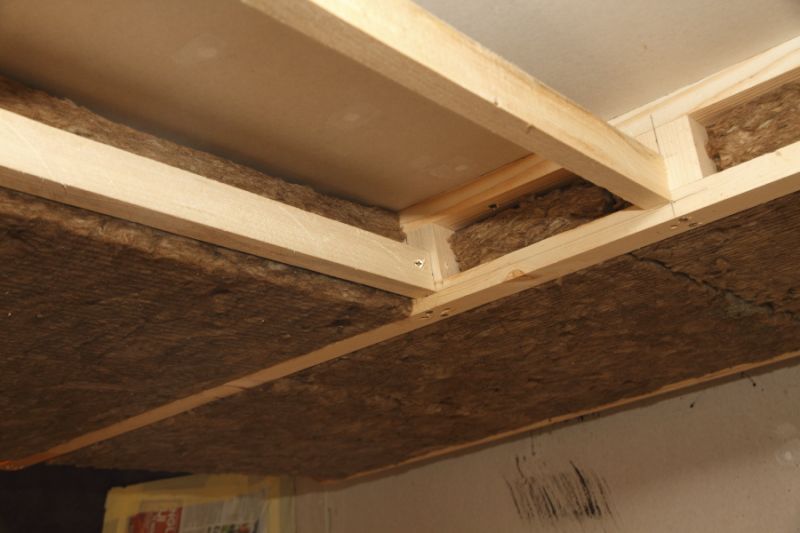
I set about attaching 1800mm lengths pitched 1200mm about the centre of the room and 600mm either side, though as you'll read later I intend to add a central support too - more later. Anyway, I initially screwed these into the perpendicular joists above the plasterboard. I then cut some spacer blocks at 56mm long and screwed these into the top battens 1 at each end and one centrally. Screwing another baten below these gave me a frame-work 100mm below the ceiling. All that was left was to add some angled pieces at each end and insert two cross members to allow for some downlights to be positioned(see photos.)
That was pretty much it for Saturday and though I wasn't sure if I'd have any time on Sunday (Mother's day) I did have a bit of time...
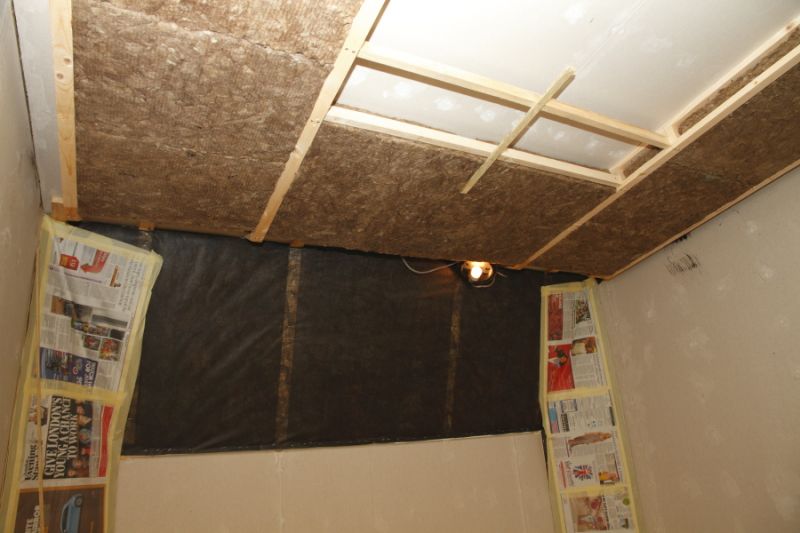
OK, I had an hour or so in the afternoon to do a little bit more work and thought I would attempt to fill the framing with mineral wool. I wasn't entirely sure how I would go about it but in the end I settled on cutting some 18x52mm tongues in the edges of the mineral wool slabs and pushing them up between the framing. I'd better add that I tried to bend a 1200x600mm slab into position first and it didn't go well - it has a certain degree of flex but beyond that point it just breaks! Oh well, lesson learnt and in fact locating one end between the battens then squashing the other up works fantastically well.
I'll come back to my earlier point about the central support now. I did try to place a 1200x600mm slab in the central 1200mm pitch battens using this method, and although the insertion works well, once in position it tends to sag down in the middle - not the case at all with 600mm pitched battens. This is when I realised I needed to add the central framing battens. I was not left with enough time to add these so I was resigned to finish filling as much between the 600mm battens and clear up for the weekend.
Anyway - all-in-all - apart from the slight setback pretty pleased and it's good to know I have a very effective method for inserting the slabs in place without the need to secure in any way before covering with the black fabric. You might also be wondering how high is the ceiling after this - well... believe it or not I can still just about walk underneath the ceiling cloud at the lowest point - though once my gear is in place I'll never get that close to the front wall anyway.
Couple more photos:
More photos:
>> Room Treatments <<
(opens in a new window)