A little frustrated not getting the door hung over the weekend I decided to get the thing up this evening after the kids bedtime stories etc.
Before hanging the door I had one job to do while it was on the bench. Although I glued the three layers together with PVA I wanted to be doubly sure that the layers would stay together so inserted a number of 50mm long screws over the back surface that will be concealed by the other panels. Pretty straight forward though the noise whilst screwing into the door assembly was like the loudest squealing I had ever heard. In fact it was so piercing that I had to wear the ear defenders!
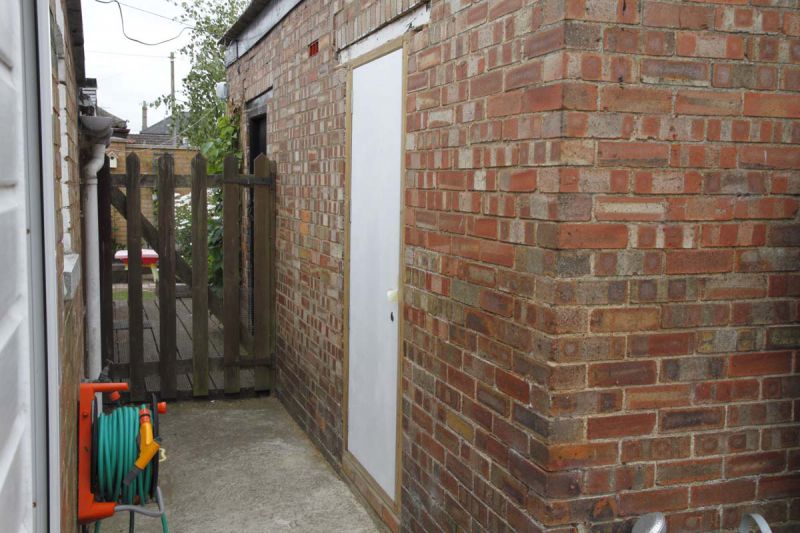
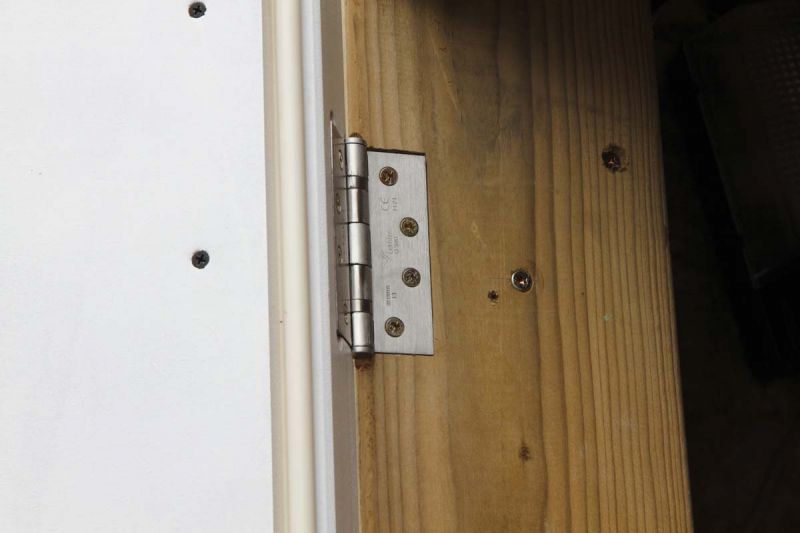
Fitting this door is no easy task when it weighs in at approx 45kg - it's hard enough to lift let alone hang on the frame - though I had already done it for the inner door. Anyway, I followed the process as I had done for the first door and taped a piece of wood to the underside to protect it from bashing whilst moving it from the workshop to the studio. It's inevitable damage will occur even when placing the door on the ground, so this is essential. The door frame itself is about 12cm above the ground level so I first had to build a level platform at roughly the right height for it to sit on. This took a little work with wedges and a few different pieces of timber to make the correct height. As you already know, the hinge rebates are already in the frame and the hinges are attached to the door, so all I need to do is get the door in position to drill and insert screws. It's a bit of a juggling act but I managed to carefully get the top hinge in position and drill pilot holes and finally get the screws driven in. A big relief once the first hinge is secured but the jobs not over yet and with a bit more juggling easing the other hinges into their respective rebates I got the lower hinge secured. One of the inner rebates needed a small amount taken off to get the hinge in-situ and screwed on but this was a breeze.
Of course the moment of truth - as always - does it close! I removed the blocks from underneath and removed the length of timber taped to the lower edge of the door and, 'hey presto' it closed - sigh of relief! :-)
I need now attach the fourth MDF panel with the seal stapled on but I have already holes drilled in both for the aligning pins. Then attach the latch and the final door layer (plasterboard).
Photos: