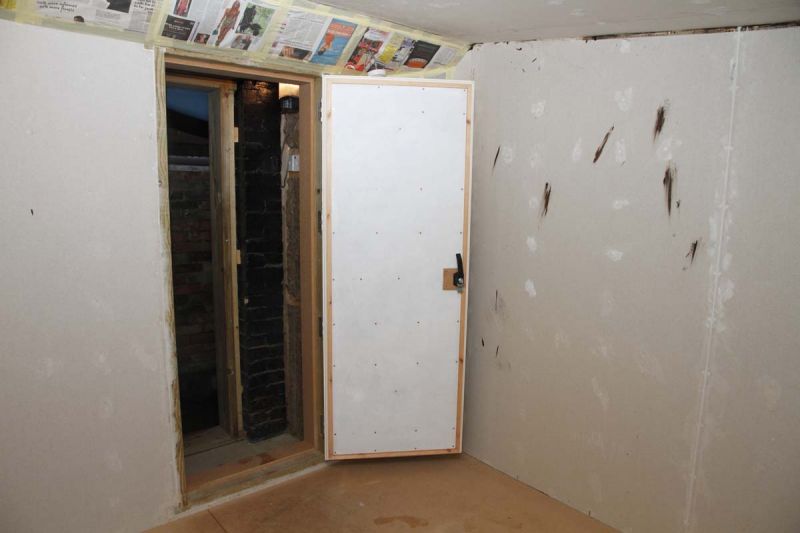
The mission this weekend was to get door number one finished - or at least latching and sealing as intended - more about that later....
Now, I wasn't entirely sure what I would use for the latch plate to allow the compression latch to engage into. After a bit of thought I opted to try a simple method that would not limit further options if this failed.
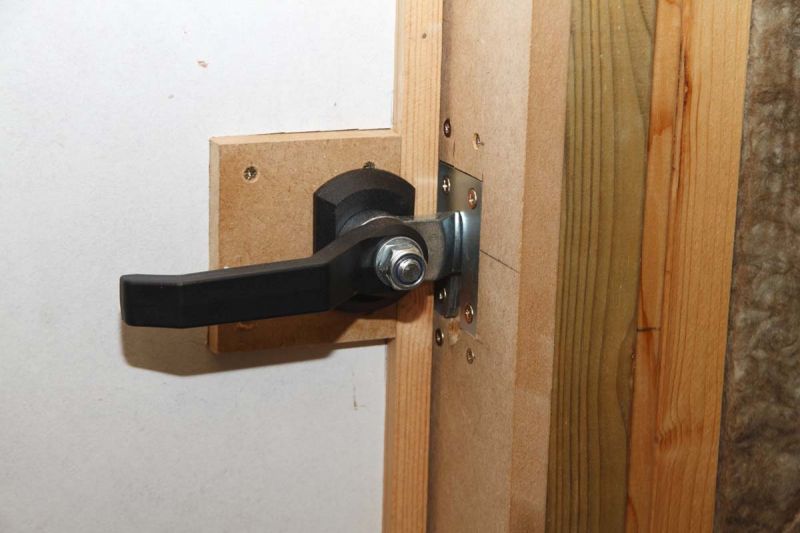
Anyway, before all this I had to attach the compression latch to the door. The assembly about five parts that effectively clamp two handles either side of the door with a simple steel protrusion with a rounded profile that acts as a cam (you'll see what I mean from the picture later.) This requires a 17.5mm hole drilled through the door for the latch barrel to fit. Unfortunately, I didn't even have an 18mm diameter drill so I first drilled a hole as close as I could get which was 16mm. I then started filing the hole bigger though this was hard work and was taking a bit of time. I then had a brain wave...the latch barrel is square is section with pretty sharp edges to it so I effectively used this as a large drill, rotating it in the hole first from one side of the door and then from the other until they met in the middle. This proved successful a gave a good close fit for the barrel to rotate in.
I had to build up the door thickness around the latch as the final layer of plasterboard is still not in situ, and besides I didn't want the latch to be squashed between the plasterboard which might crumble in time. Simple really: add another small piece of MDF in the area and have the latch protrude through this. Only problem this resulted in the door being too thick for the latch barrel and there was only a few threads of the locking nut engaged in the thread at the end. I couldn't find another piece of material suitable at the 12.5mm required so I routed out a rebate for the MDF piece to sit into. All good and another problem overcome and the latch was inserted and assembled on the door.
I then had the job of cutting the door jams to suit and I used the off-cut MDF used for the door itself. This was fairly easy and I had them cut to a good tight fit to aid positioning. In terms of positioning of the jams I first had them just touching the door seals with the door just closed and subsequently when screwing them in place I inset them inwards by 2mm to allow them to compress the silicone seals by the same amount when fully closed. All good I was able, with a bit of effort, close the door fully flush - so far so good!
So for the latch plate. I had at my disposal some 3mm steel rectangular pieces of steel which have an open ended slot centrally (again see the photos for this). Although 3mm was probably OK I decided to stack two together bringing it to 6mm. I drilled four 5mm diameter holes in the corners and countersunk these to accommodate my 4.5 x 60mm wood screws. These need to be rebated into the door jam in the correct position to allow the latch to engage and then compress the silicone door seals. So I pulled the door leaving just about 5mm left to go before fully closed and flush with the wall, which is about the distance the latch cam has between the start and its peak. Whilst held here I turned the handle so as to make a mark into the door jam. Here was my mark for the inner edge of the latch plate. I then routed out the 6mm rebate and squared the corners with the chisel. The latch itself protrudes about 3mm from the door frame so I also had to rout a 12 diameter vertical slot in-line with the slot in the plate to allow the latch to throw completely.
OK now the moment of truth... I attached the latch plates using the 60mm screws then tried the door. Upon closing the door tightens at about 5cm from closure because the seal on the hinge edge starts to compress first. With a small amount of pressure on the door I'm able to get the door closed though it needed a fair amount more pressure to engage the latch. Having looked at the latch plates I realised the sharp edge of the slot were not helping and the addition of a lead in here would further ease closure. I took the plates off and filed a curved lead in and reattached. Much better!! Now just before it really tightens up the latch engaged and with a smooth action rotates into the latch plate. All good. I may take a look at the hinge jam and perhaps try to alleviate the tightening - we'll see.
Photos:
More photos:
>> Door Construction <<
(opens in a new window)