As we were out all day Sunday, I only had Saturday to work on the studio. I set myself a target to get the front ceiling-wall absorber chunk finished.
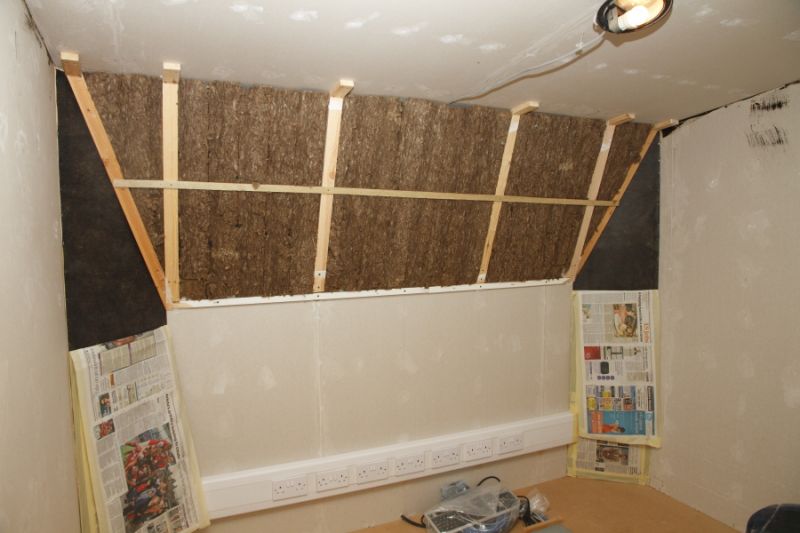
I finished the last angled upright to meet the corner chunk - a slightly awkward shaped piece that required a bit of planing and adjusting to fit. I did the same as the left hand piece with a combination of no-nails, staples and screws to secure it into position. All matched in pretty well to meet with the front wall corner chunks.
I then set about filling the framing with mineral wool. To keep the stuff from falling to the ground before covering I attached a temporary thin batten mid-way up horizontally. This allowed me to insert the triangular profiles easily into position.
All good and filled pretty quickly and I was only a little bit itchy afterwards!
Photos: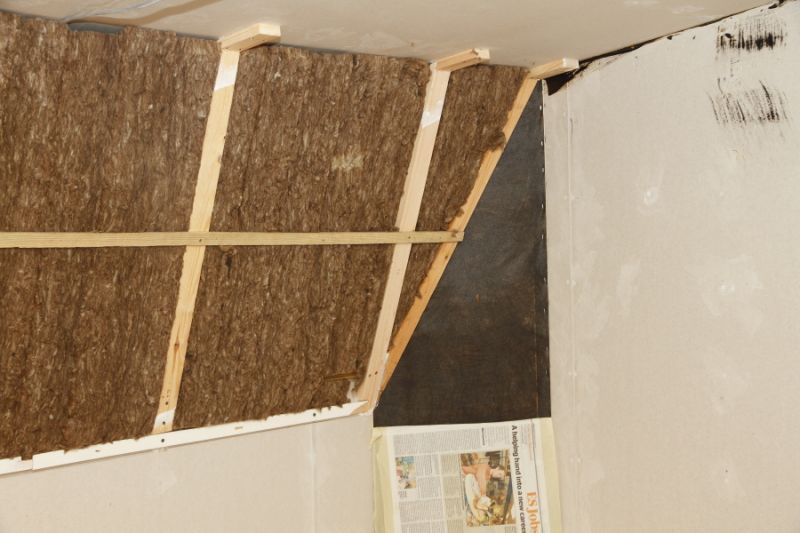
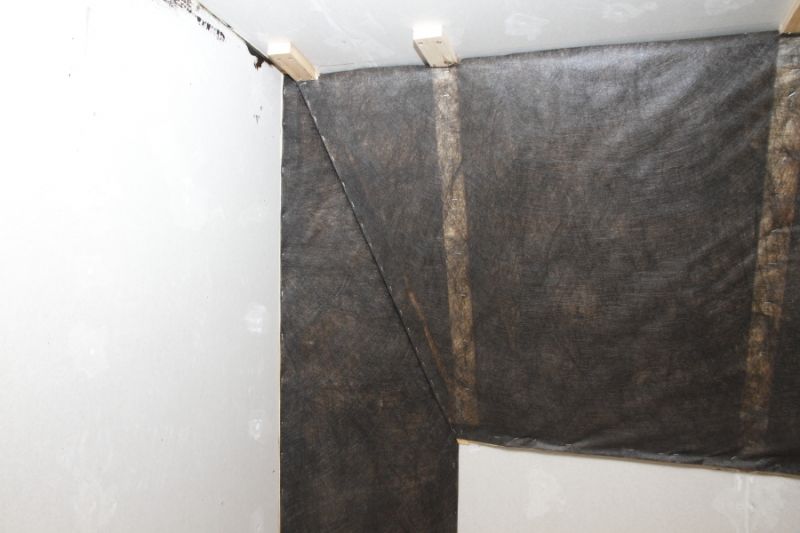
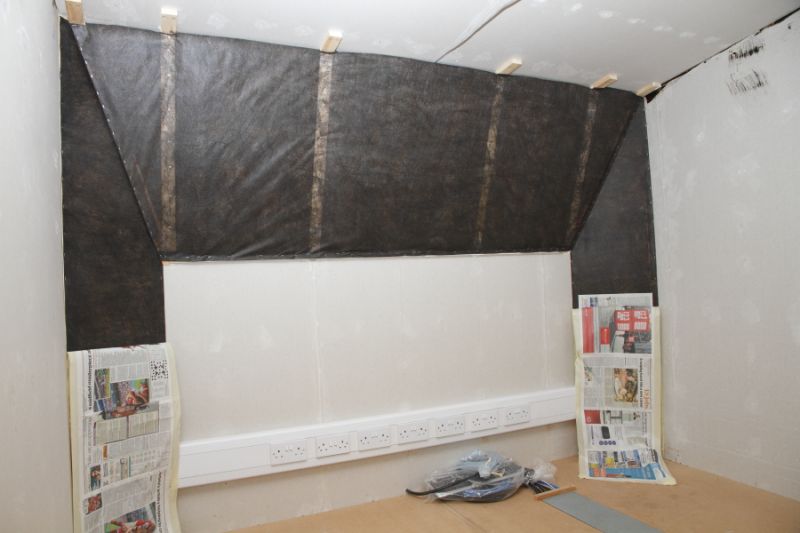
I then cut a 2.8 x 1 metre piece of the weed control fabric to cover the chunk (look at my earlier post regarding this material - though I'm not 100% sure of suitability for this job it certainly has the required properties and it can easily be replaced if not at a later date.)
It's a little tricky to attach especially as I had to fix the bottom edge first up to the batten to ensure the triangles stayed in place before the batten was removed. I hemmed all the edges before stapling them to the framing. I have to say that my stapler is not the best in the world and I end up with a lot of wasted staples (note: next time buy a better stapler.) As long as it lasts for this job I won't bother replacing at the moment. Anyway, all in all happy with the result and although the photos do show a few waves in the material these will be reduced once I get it fully tensioned and secured. Though they are not even noticeable in the low light I'll have in the finished room - camera flash shows up all manner of irregularities.
Photos:
More photos:
>> Room Treatments <<
(opens in a new window)
More next weekend...